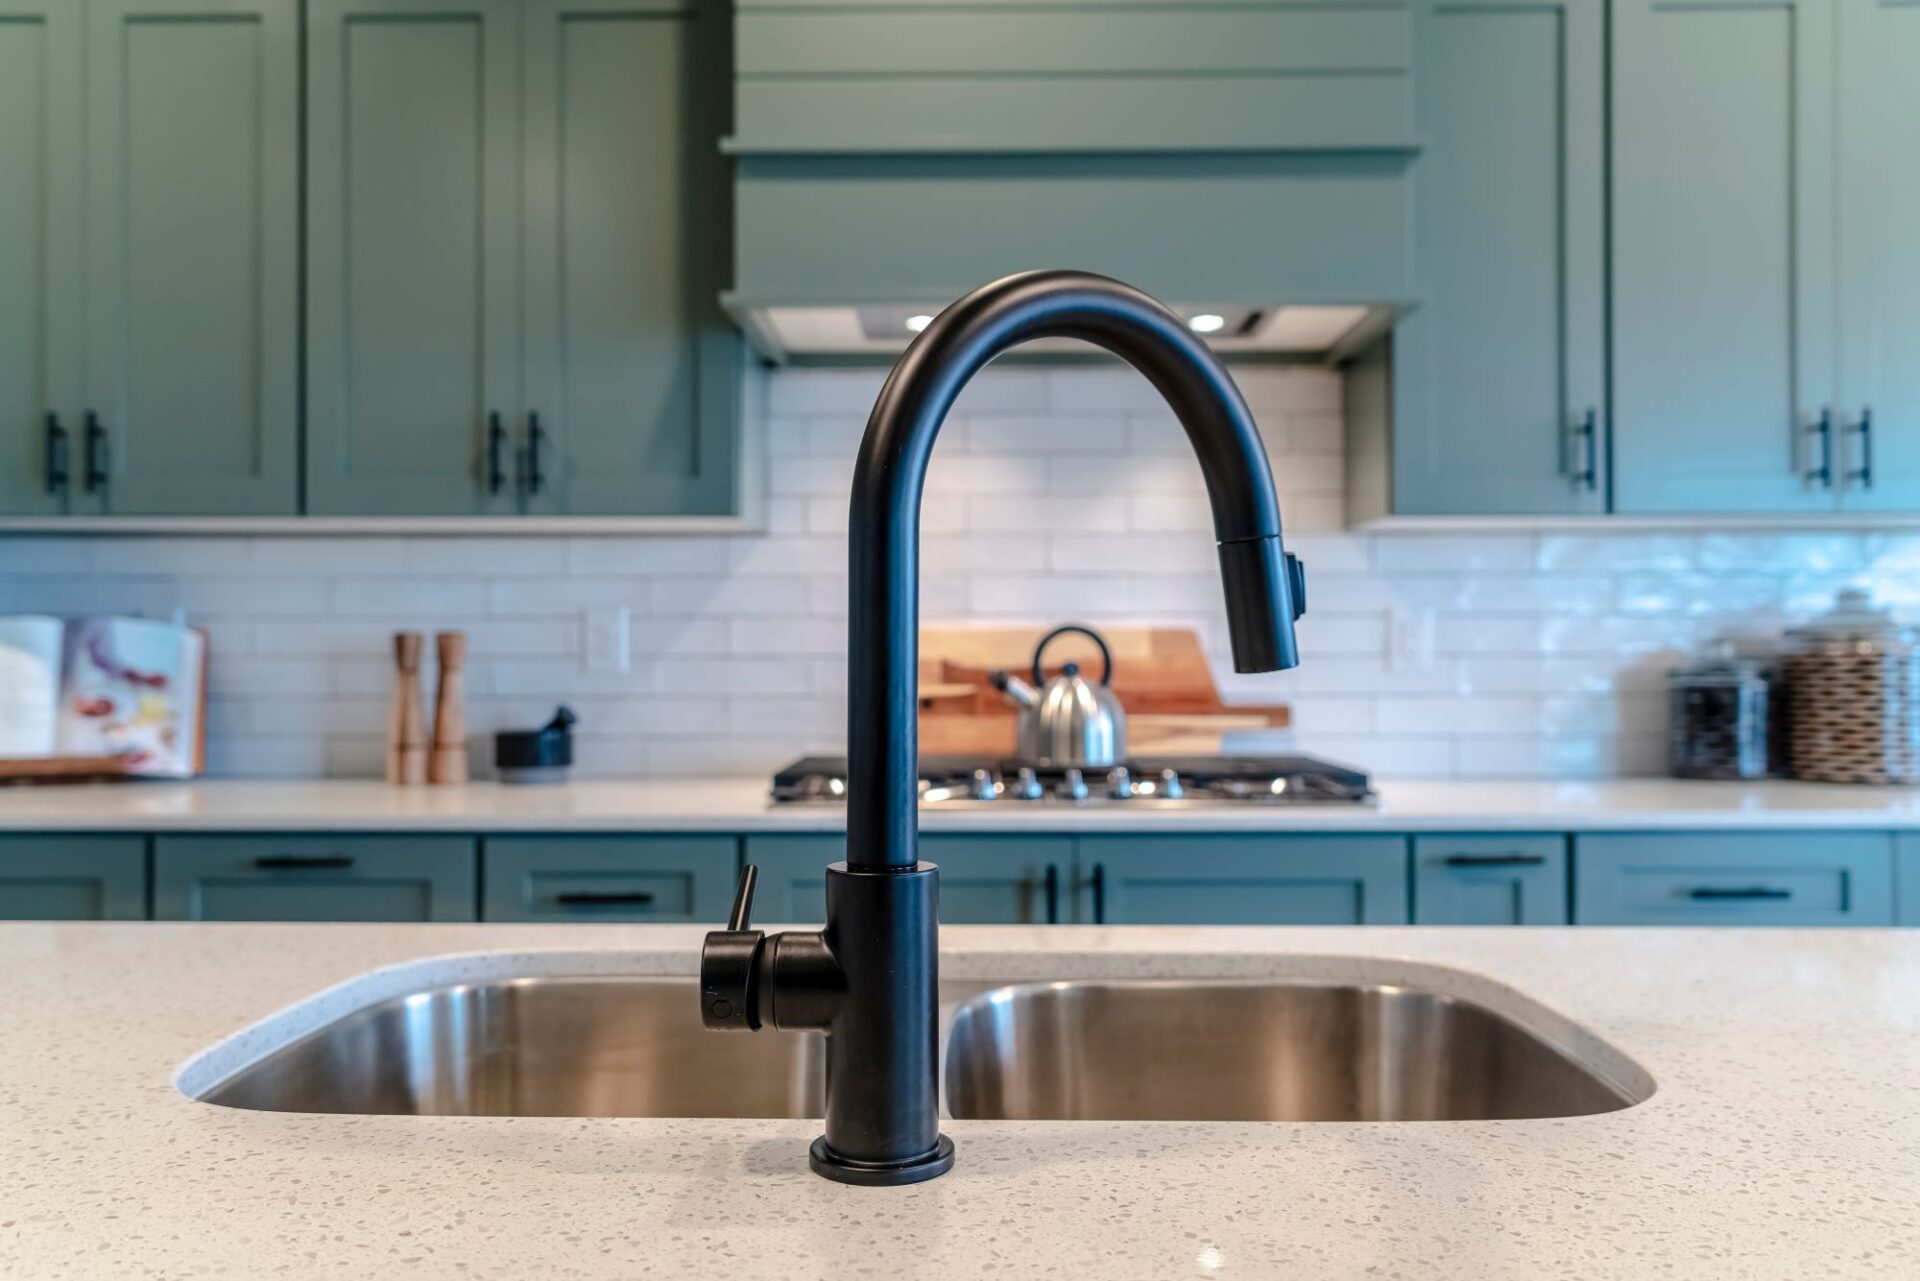
Upgrading your kitchen is one of the most rewarding home improvement projects you can undertake. While high-end countertops, custom cabinetry, and commercial-grade ranges usually steal the spotlight, the true backbone of a functional kitchen lies behind the drywall.
When reconfiguring layout lines, adding luxury features, or updating fixtures, understanding the underlying plumbing requirements is critical to ensuring your dream kitchen remains leak-free and compliant with local codes.
1. Wall-Mounted Pot Fillers
A pot filler installed directly above your cooktop adds convenience and luxury, saving you from carrying heavy, water-filled pots across the kitchen.
Supply Line & Pressure Requirements
- Dedicated Cold-Water Line: Pot fillers require a dedicated 1/2-inch cold water line routed through the wall behind the stove. Because they dispense water quickly, ensuring proper water pressure is vital. If your home suffers from fluctuating or weak flow, address potential root causes like pressure regulator issues or mineral buildup before closing up the drywall.
- Height & Reach Planning: Standard placement ranges between 12 and 18 inches above the cooktop burners, but this should be customized to your largest stockpot.
- Dual Shut-Off Valves: Always select a fixture with dual shut-off valves (one at the wall and one at the spout) to provide a backup seal against high-pressure leaks over your cooking range.
2. Dedicated Ice Maker Water Lines
Modern refrigerators with high-capacity ice makers and built-in water dispensers demand a clean, reliable, and properly valved water supply.
Key Installation Steps
- PEX or Copper Supply Lines: Avoid cheap plastic tubing, which deteriorates over time and is a leading cause of subtle kitchen leaks. Opt for 1/4-inch braided stainless steel flex lines or solid copper/PEX routing.
- Accessible Shut-Off Valve: Building code requires an easily accessible shut-off valve—either inside an adjacent cabinet or recessed in a wall box—rather than tucked far behind the refrigerator where it cannot be reached in an emergency.
- Protecting Water Quality & Appliances: Hard water deposits can quickly clog narrow ice maker solenoid valves and internal filtration units. Installing dedicated water conditioning or checking whether your home would benefit from a water softener vs. a water filtration system will significantly extend the lifespan of your refrigerator’s ice dispenser.
3. Island Sinks & Venting Solutions
Placing a main sink or prep sink in a center island creates an open, social kitchen layout. However, because island sinks stand away from traditional exterior framing, venting the drain line presents a unique engineering challenge.
Venting Options & Drainage
- Air Admittance Valves (AAVs): Most modern remodels utilize an AAV (often referred to as a Sure-Vent or Magic Vent). Placed under the sink cabinet above the flood rim level, this one-way valve allows air into the drain pipe when water flows, preventing siphonage without needing a pipe routed through the roof.
- Loop Venting (Chicago Loop): In jurisdictions where AAVs are restricted, a traditional loop vent must be constructed within the island cabinet, routing the vent pipe up as high as possible under the counter before dropping down below the floor to join the main stack.
- Drain Pitch & Sizing: Island drains typically require a 2-inch drain pipe beneath the subfloor to handle high volume and lower the risk of kitchen grease clogs.
4. Upgrading Water Heating Capacity for Kitchen Upgrades
A remodeled kitchen often introduces high-demand fixtures—such as commercial dishwashers, pot fillers, and secondary prep sinks—that increase your household’s peak hot water consumption.
Before completing your remodel, evaluate whether your current unit can maintain adequate flow and temperature. If you find your current system struggling during meal preparation or clean-up, review our guide on how to size a water heater for your household to determine whether upgrading to a higher-capacity tank or an on-demand tankless system is right for your space.
5. Garbage Disposals & Appliance Rough-Ins
When moving or upgrading your kitchen sink, food waste disposal units and dishwashers require precise rough-in placement to function efficiently and odor-free.
Critical Considerations
- Disposal Power & Drain Height: Ensure your wall drain outlet sits lower than the disposal discharge outlet. A wall outlet that is too high causes standing water in the unit, leading to foul odors and premature motor failure.
- Dishwasher High-Loop or Air Gap: Code requires the dishwasher drain hose to be looped high under the countertop or connected to a countertop air gap to prevent dirty sink water from backsiphoning into clean dishes.
- Maintenance & Best Practices: Once your newly remodeled kitchen is operational, simple preventative care keeps the disposal running smoothly. For instance, routine cleaning using simple ingredients—such as using ice and lemons in your disposal—helps remove grease buildup on the impellers and keeps your new sink fresh.
Planning Your Remodel Plumbing
Getting the rough-in plumbing right early in your remodel saves significant time, prevents costly drywall repairs later, and guarantees that your luxury fixtures perform reliably for years to come.